Diagrams and chronologies
Use a corporate diagram to explain who owns or controls an entity, and a chronology to show what happened and when. Create them from a conversation and keep them with the matter when they form part of ongoing client work.
Create a corporate diagram
- Start a chat and select the relevant matter or source documents.
- Ask for the diagram you need, such as a corporate ownership structure.
- State what the connections should mean: ownership, control, contractual relationships, or a flow.
- Open the generated diagram and review its entities, labels, and connections.
For example: “Create an ownership chart from these documents. Include the shareholders, holding company, subsidiaries, ownership percentages, and each company's jurisdiction. Identify anything the documents do not establish.”
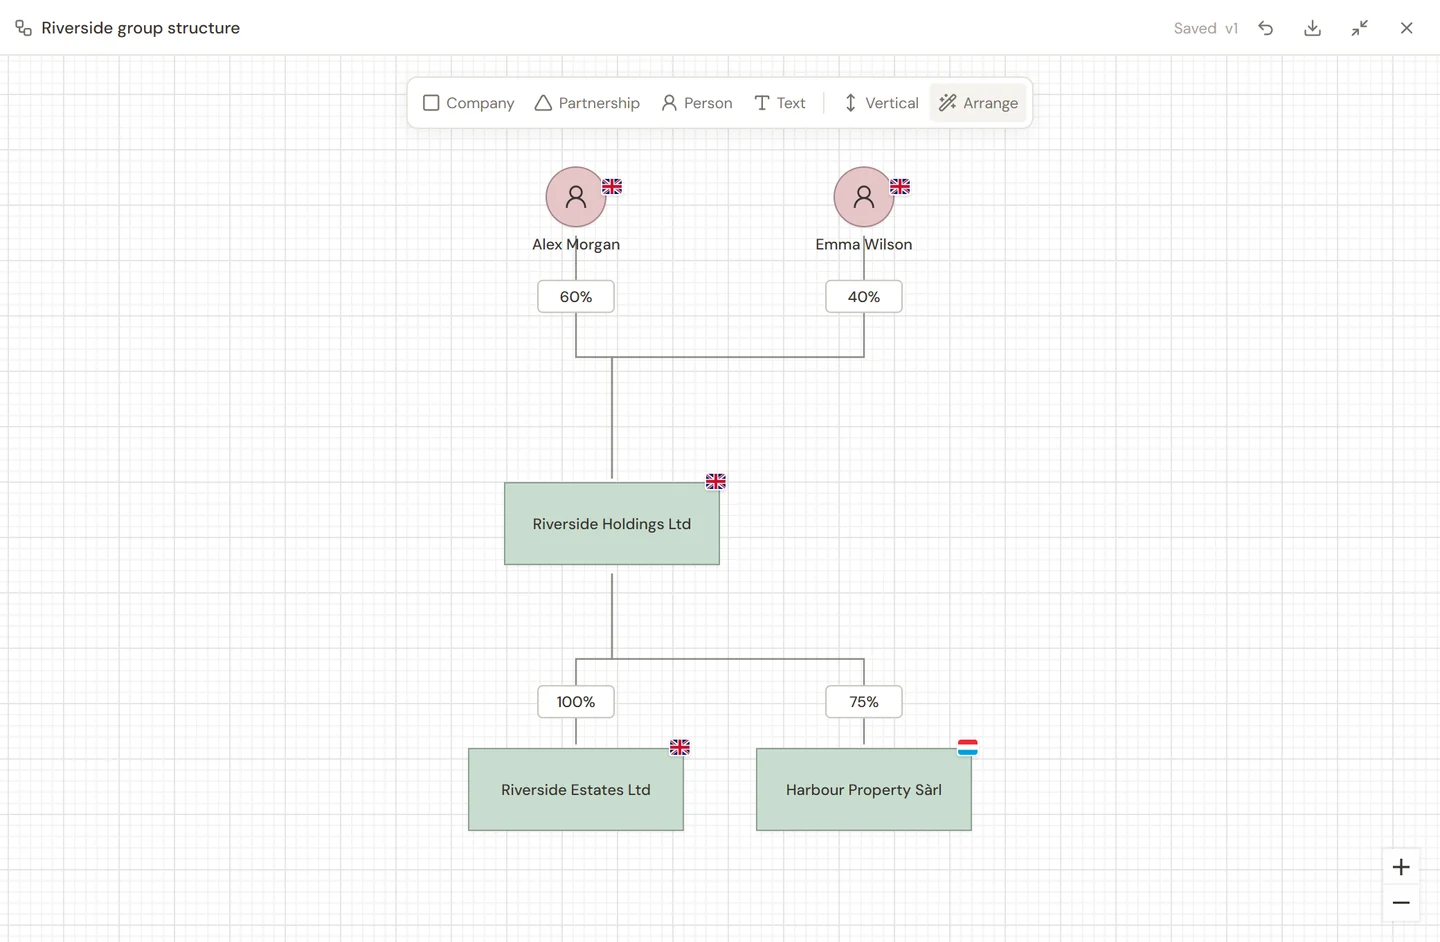
Edit the structure
Select an entity to open its Entity panel. Check its Type, Name, country or jurisdiction, and colour. Use Company, Partnership, Person, or Text in the toolbar to add the appropriate item. The controls around a selected entity let you add a connected entity.
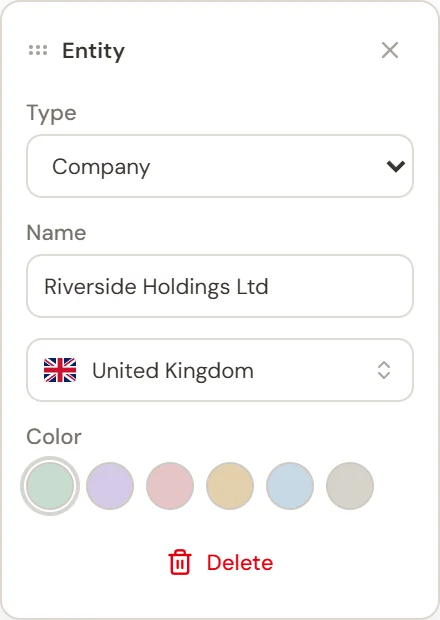
Drag entities to reposition them. Double-click a connection's label to edit its wording. Use Vertical or Horizontal to choose the direction of the chart, and Arrange to reorganize it.
Check percentages and the direction of connections carefully. If the documents do not establish an ownership interest or a relationship, ask for clarification before presenting it as fact.
Build a chronology
Ask the conversation to create a chronology from the selected documents or correspondence. Specify the date range and the events that matter to the task. For example: “Create a chronology of the lease negotiations. Include each draft, the client's instructions, and any outstanding approvals. Mark dates or events that are not established as uncertain.”
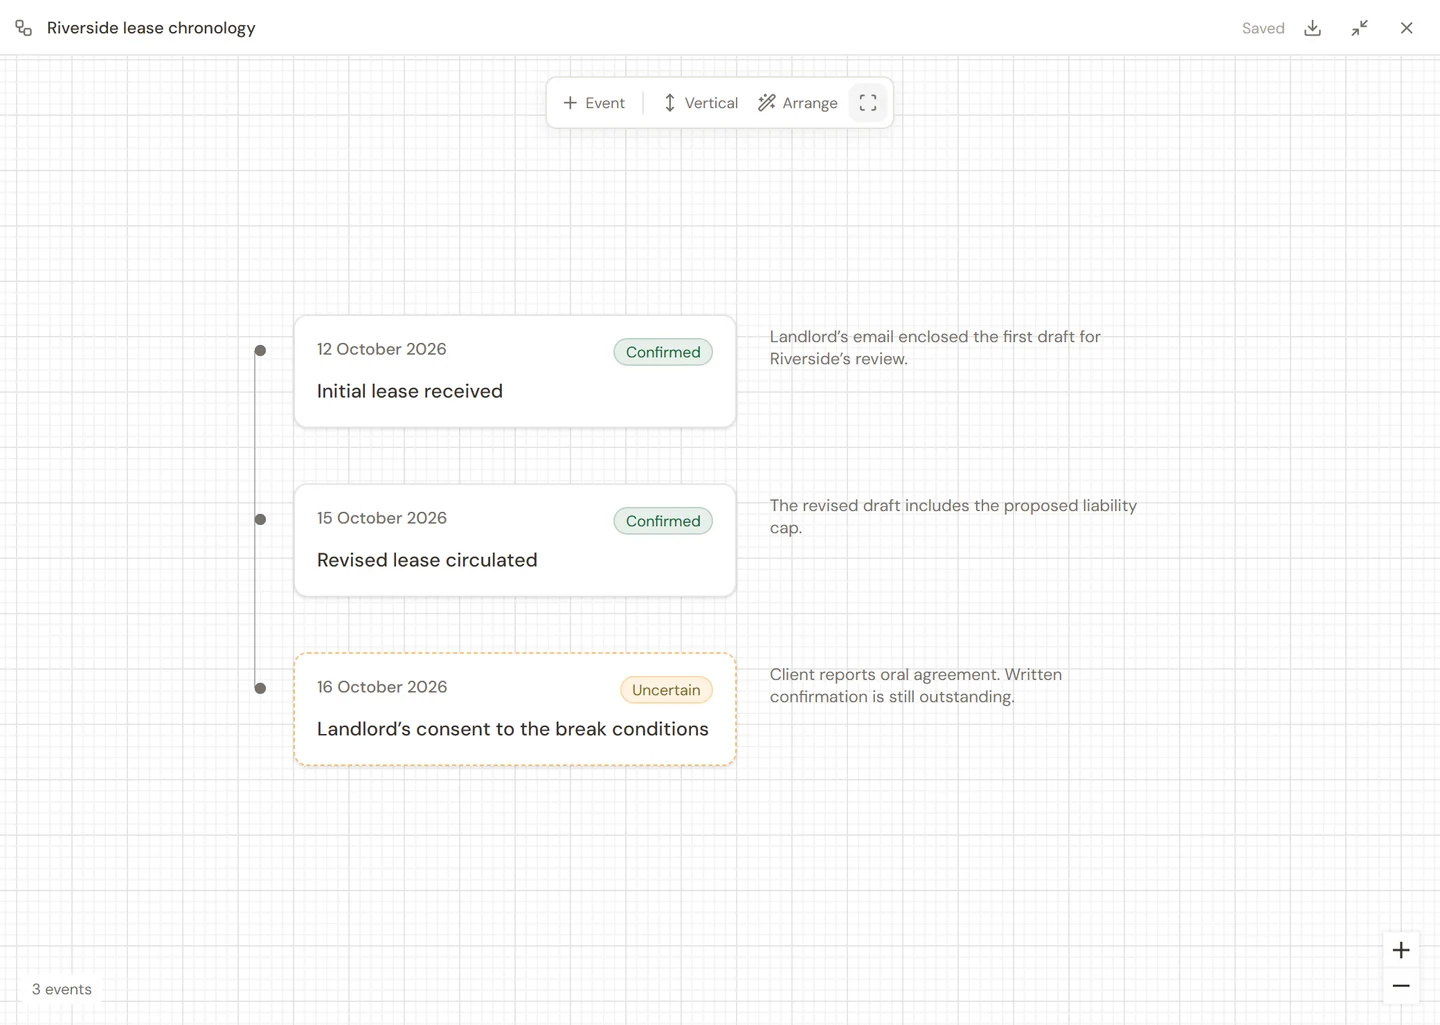
Edit an event
- Select an event to open Edit event.
- Check its Date and Event description.
- Use Additional information to explain the context, record a document reference, or say what still needs confirming.
- Choose Confirmed, Disputed, or Uncertain to reflect what the evidence establishes.
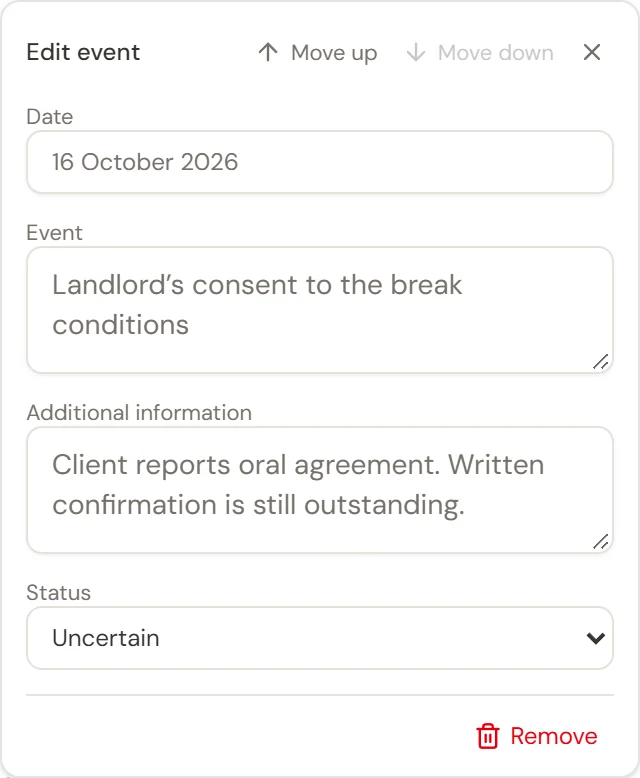
Select Event in the toolbar to add another event. Use Move up or Move down in a vertical chronology to put an event in the right order. For a horizontal chronology, these controls become Move left and Move right.
Use the orientation control to switch between vertical and horizontal presentation. Arrange tidies the layout, and Fit chronology brings the timeline into view. Check every date and description before using the result in advice or submissions.
Save and export the result
Changes save automatically. Check for Saved before closing the editor. Keep the diagram with the relevant matter so colleagues can find it in that matter's Diagrams view.
Use the export button at the top of either editor to choose PDF, PNG, or SVG when you need the visual in a report or presentation.
For a short record attached to one document in a table, use that document's chronology instead. A matter-wide chronology is useful when events span several documents.